Now Reading: Sony MHC 2500 Mini HiFi system restoration
- 01
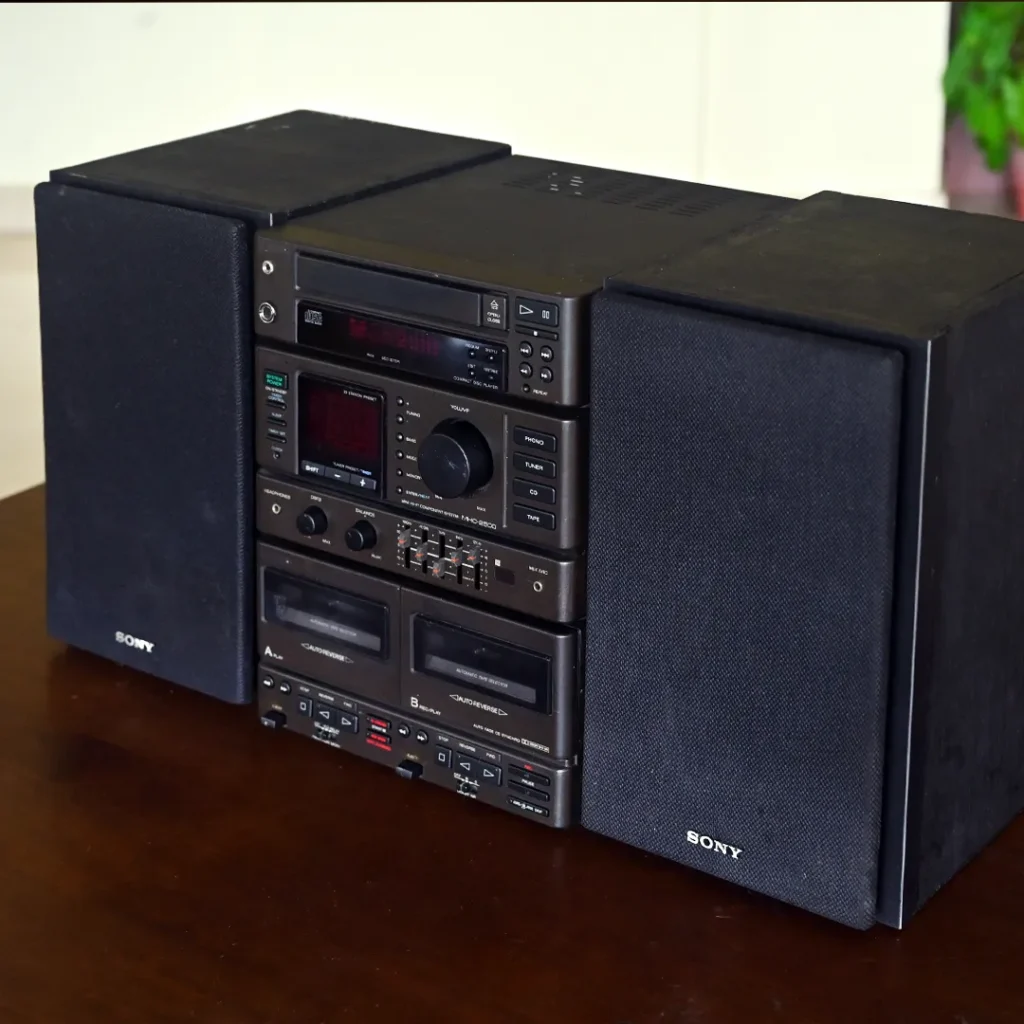
Sony MHC 2500 Mini HiFi system restoration
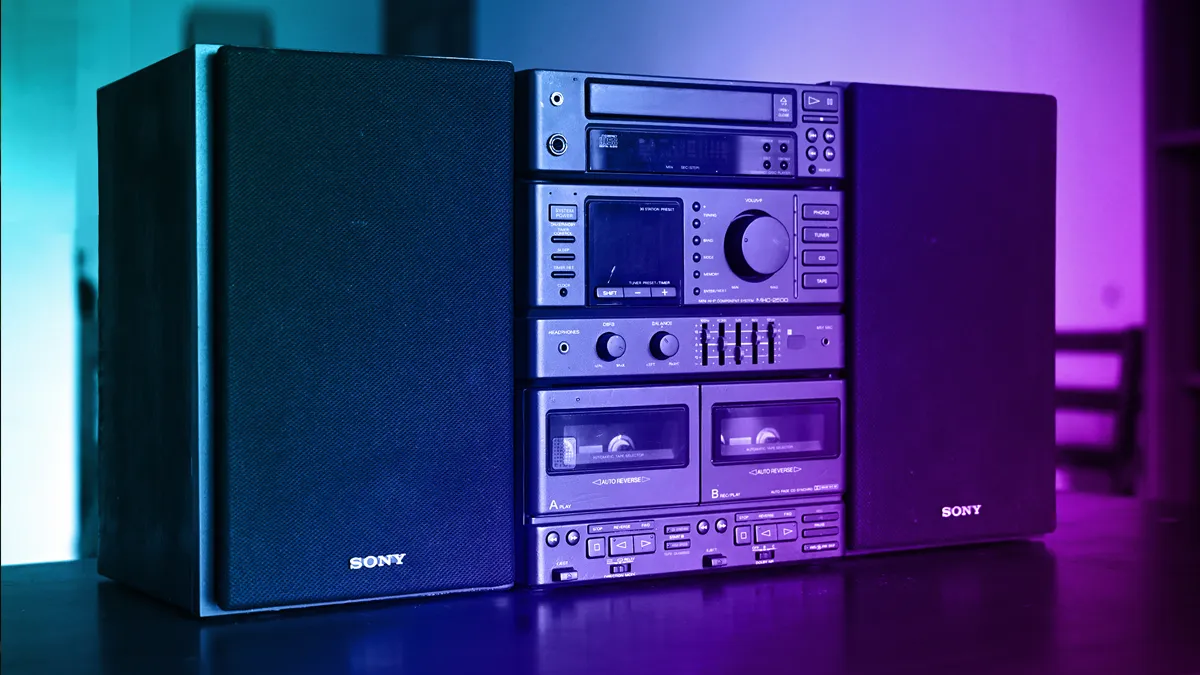
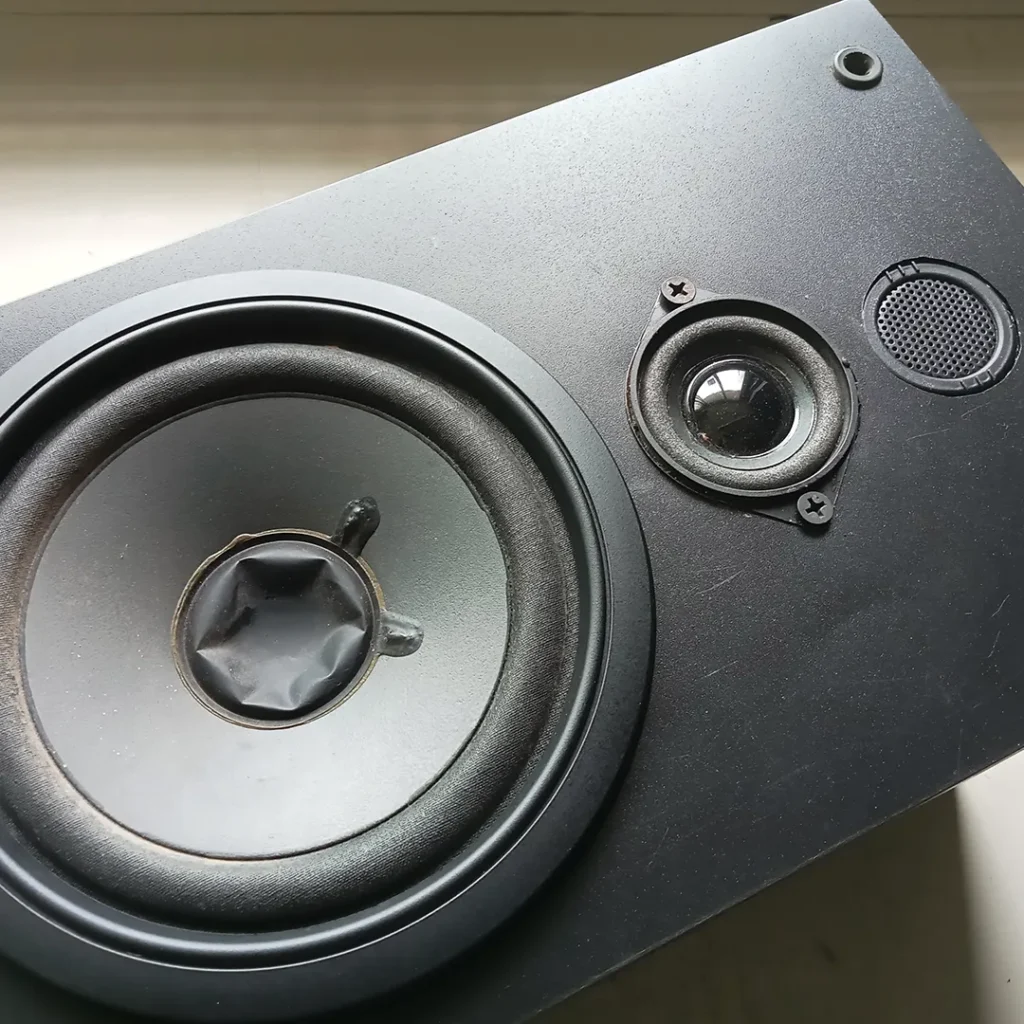
4. Speaker System Model: SS-H2500
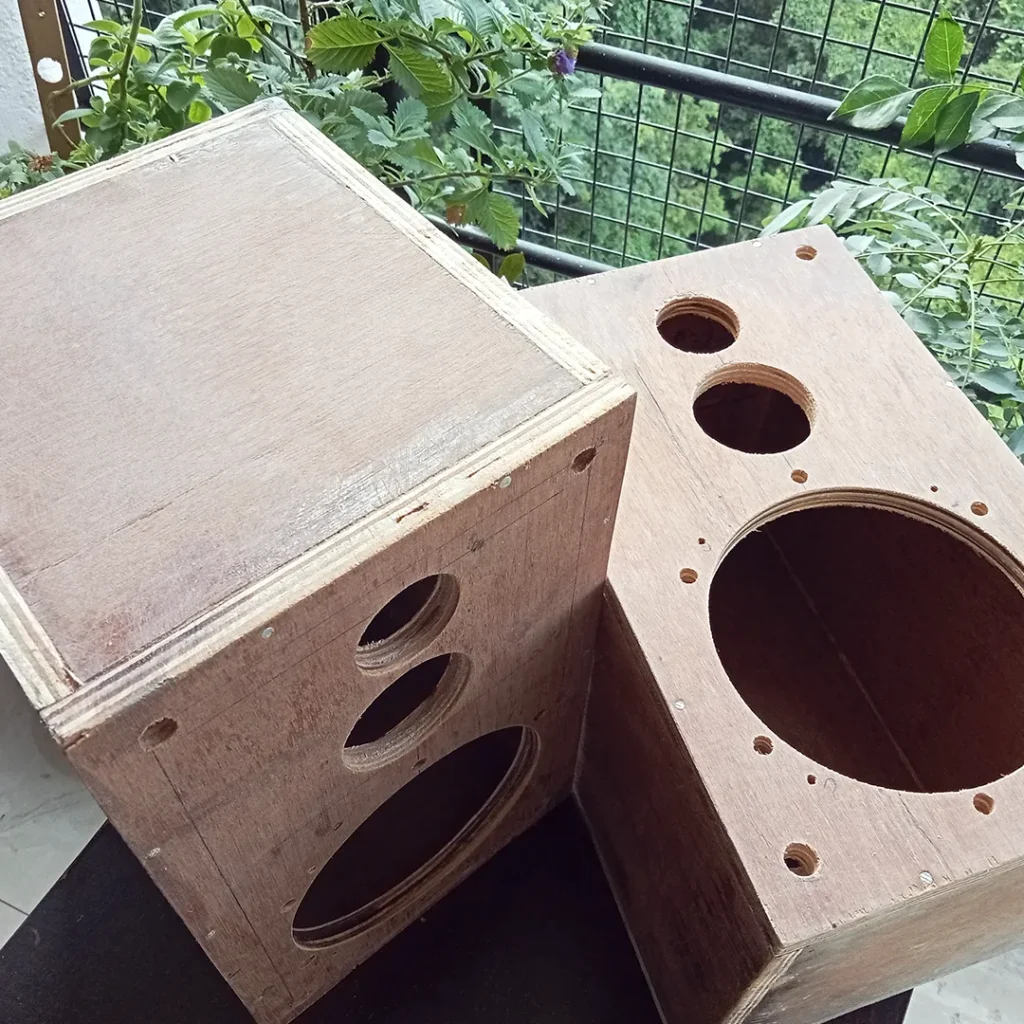
The enclosures of the R&L channel speaker were partially damaged at the rear due to water absorption, as they were made of MDF board. To replace them, I built two new enclosures using plywood. Additionally, since a 2-inch paper cone mid-range speaker was unavailable, I opted for a normal 2-inch, 10W speaker. I also upgraded the piezo tweeter to a dome tweeter. Checkout another project about speaker restoration. Check out another project about speaker restoration.
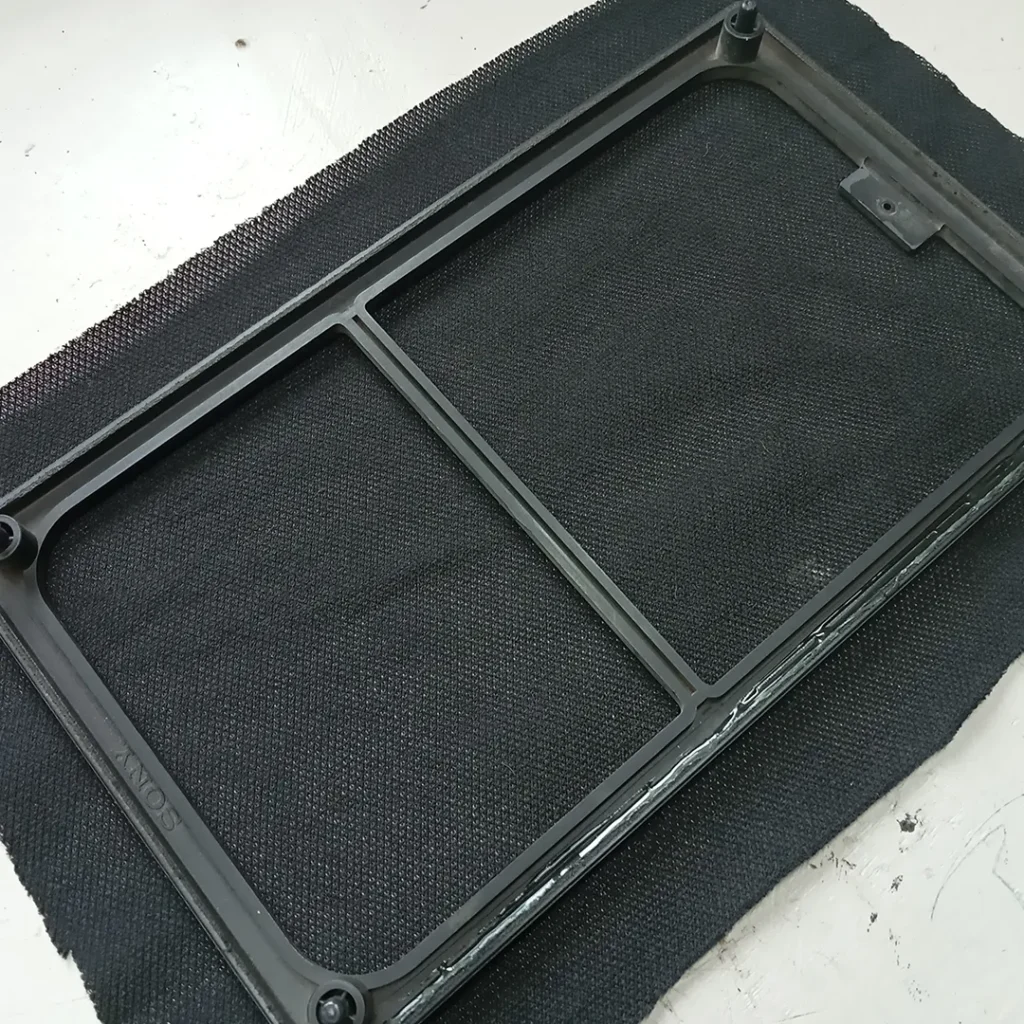
Fabrication
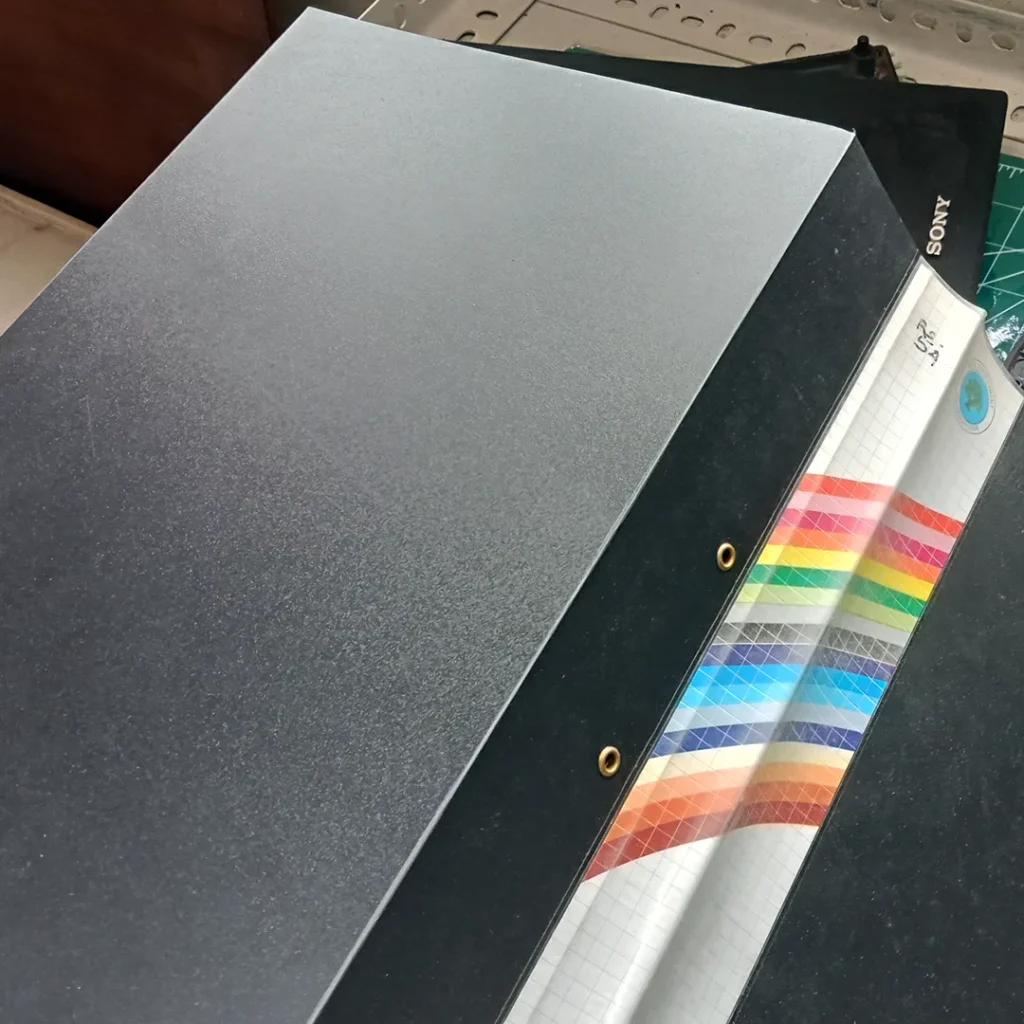
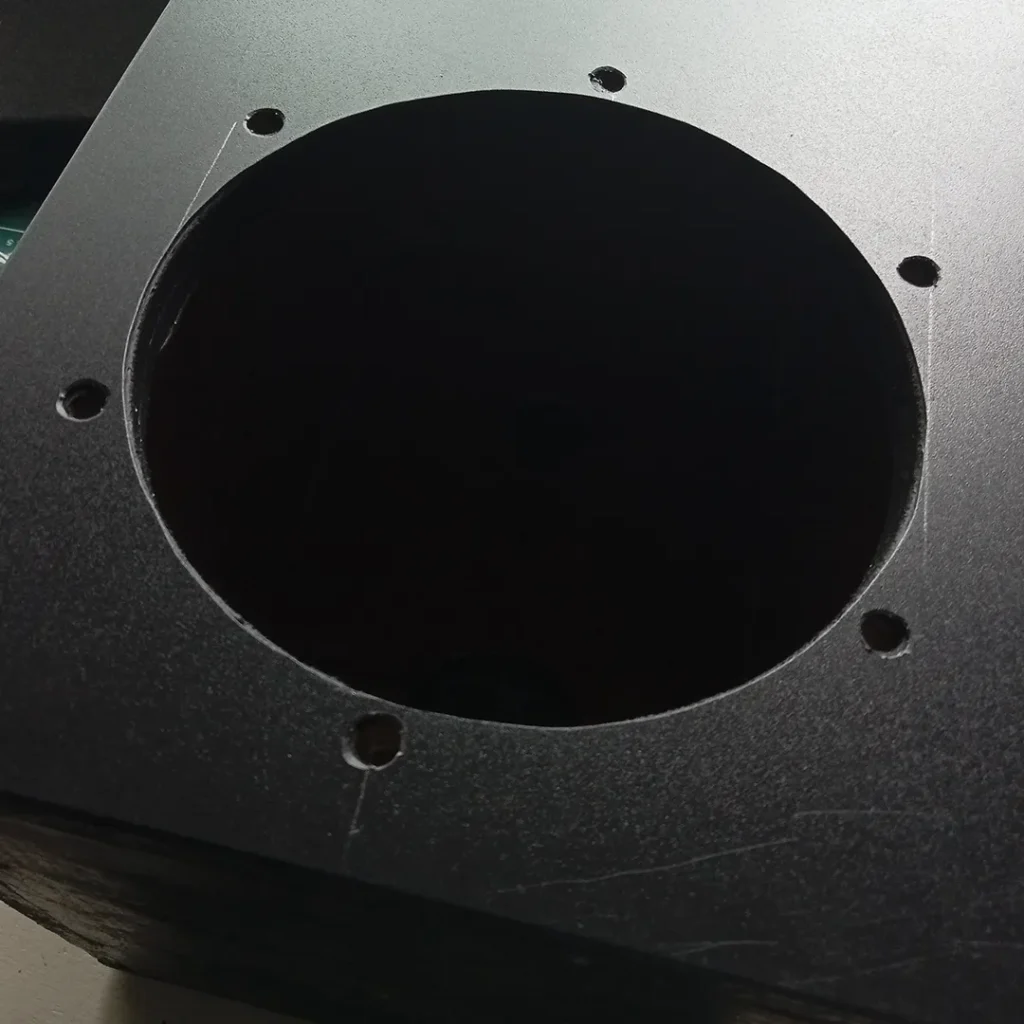
To achieve an original look, I fabricated the front side of the enclosure by using material from a plastic office file/folder after applying two coats of black matte spray paint.
My Sony MHC2500 HiFi system restoring—final look.
Restoring the Sony MHC-2500 HiFi system has been a rewarding experience. The new enclosures now closely match the original design while offering improved durability. With upgraded components and a bit of creative fabrication, the speaker system retains its classic look while delivering enhanced performance. It’s exciting to see this vintage system come back to life with a blend of originality and thoughtful upgrades!
Find Sony MHC-2500 Service Manual here
Stay Informed With the Latest & Most Important News
Previous Post
Next Post


Hi, I’m Krishna Kumar (CrishCreative), a seasoned graphic designer with a professional background in branding and advertising. My passion lies in blending art and science to craft innovative ideas and strategies that leave a lasting impact. I am currently working as a creative director.Beyond work, I immerse myself in art, crafting, photography, and hands-on projects—whether it’s tinkering with electronics, exploring mechanical builds, or diving into creative crafts. Driven by curiosity, I’m always learning, discovering, and finding inspiration in the unexpected. For me, every challenge is an opportunity to grow, spark fresh ideas, and create something meaningful.


Ripley
Hello! I am trying to restore the same system, but I’ve run into a problem with the cassette player. I replaced the belts, but for some reason now the eject buttons are stuck (the doors will not open) and when I finally got a cassette in, the machine plays for a bit and then pulls the tape out of it and auto-stops. Any tips for where I went wrong?
crishcreative
Hi, I had the same issue — the mechanism pulls the tape out and then auto-stops. After many observations, I found that the problem was related to belt routing. Initially, I routed the belt around the two pulleys, but the issue persisted. Later, when I routed it as shown in the image, it started working perfectly.
As for the cassette ejection problem, it’s likely that something is getting stuck or misaligned—particularly in the eject linkage — due to pressure or a tight fit. I think you’ll need to carefully observe where it’s getting stuck after detaching the mechanism from the housing. Check around the eject lever and its locking mechanism on the left side of the drive mechanism. That’s where I suspect the misalignment or obstruction might be happening.
kevin
I just bought a mini system MHC 2500 and it happens that I just noticed
that there is only one audio for the RCA, placed at the back of the turntable. I also see at the back of the case
a “system control 2” plug. it also seems to me that I don’t know how to connect
other elements, should we add a special element for the RCA sockets that I need?
thank you for your help.
kevin
new request, I looked at the ‘system control 2’ connectivity and obviously I have to look
with which type of connections I should work.. it also seems to me that the basic RCA
linked with the phono there is not really an alternative, maybe a RCA multiplier ..?
but the hifi system may also not recognize external peripherals.. Tell me what
choice I could have? thank you!
creativemantis
I understand that you want to connect other components like a CD player or cassette deck through the main system’s System Control 2 port. The RCA connector is for the PHONO preamp output. You need to use an FRC-type socket and cable to connect other components. Unfortunately, this type of FRC connector is hard to find, so I made an alternative socket and pins using male and female Berg strips. check this: https://audiofreaksforum.nl/index.php?topic=25595.0 Check out this manual: https://archive.org/details/manual_MHC2500_SM_SONY_EN/page/n7/mode/2up.